How to create ticketed online event (live streaming or on-demand) or monetize your videos


Required time: About 30 Minutes

How to create ticketed online event (live streaming or on-demand) or monetize your videos

This article and video show you how to create an online event (live or on-demand), from scratch, using your choice of streaming application. You can also use this method to monetize your videos and make them pay-per-view.

Online events, classes, conferences, movies, … including both “live” or “on-demand” have become very popular and in high demand especially due to pandemic.

Besides the events, you may have videos that you may want to monetize and let people pay to watch for certain time.

It is important to have the proper ticketing platform that allows you to securely and effortlessly sell tickets and control admission.

It is also important that your ticketing platform gives you the flexibility to use the streaming platform of your choice and not limit you to their own or certain streaming platform that is so costly or does not have the proper quality, features or scale.

Ticketor offers all the above features. You can use it for your ticketing and admission and you can use any streaming platform of your choice, free or paid, such as YouTube, Vimeo, Facebook, …

You can simply embed your streaming code into Ticketor and Ticketor handles the admission for you or you can choose to handle the admission directly by yourself or through your streaming platform.
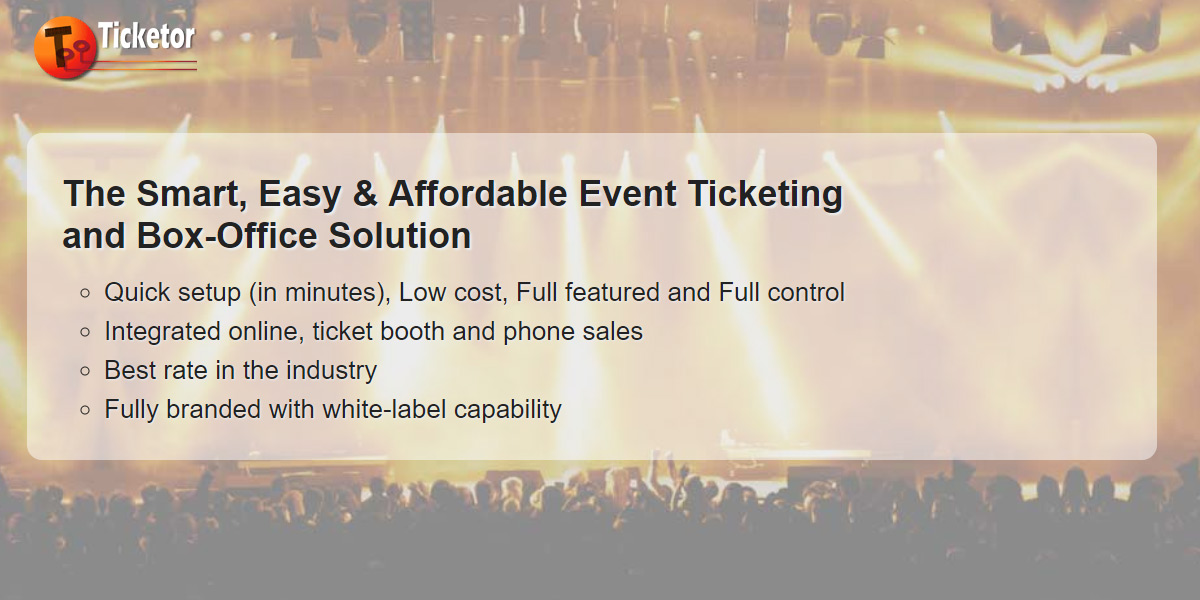
What is Ticketor?

Ticketor, is a white-label, fully branded box-office and ticketing / booking system that allows you to have your own full-featured registration and ticketing system with full control over everything including buyer fees, pricing, returns, terms and policies.

You can use it for online sales, ticket booth or retail location, as well as over-the-phone sales.

Ticketor can be used for any type of event or activity that requires ticketing, admission, registration or booking such as:

  • Events
  • Classes
  • Admission to a museum, amusement park or attraction
  • Tour reservation
  • Transportation
  • Booking a service, room or equipment
  • ...

Ticketor comes at very reasonable and unbeatable price that is transferable to the buyer, and it comes with great customer support, documentation, walk-through and tutorial videos.

Ticketor is known to be the most feature-full, flexible and automated registration and ticketing system that meets the requirements for any ticketing or registration scenario.

It also allows you to collect the sales money directly using your own payment processor or PayPal account so that you receive the sales money directly and as tickets sell.

Your Ticketor website is fully mobile friendly and search engine optimized. Your website and events are submitted to Google and other search engines to make sure you get the highest visibility on the web.

You can read more about the Ticketor features at www.ticketor.com

Sign up for Ticketor

Ticketor sign up form

If you already have a Ticketor account, then sign in to your account by browsing to your Ticketor link. Otherwise Sign up on Ticketor.com. It takes less than a minute and requires no credit card.

Fill out your basic information on the sign up form, choose an address for your Ticketor portal and click on the button.

Choose any plan at this point as all the plans support all the ticketing features you may need. Moreover you can always change your plan at a later time.

Click on the sign up button to see the confirmation page.

Your ticketing and reservation system is ready and you can navigate there using the link on the confirmation page to configure it, customize it and create your events, store, gift cards, etc.

When you first land on your website, or a new page of your website, a walk-through pops up. Go through the steps to learn about your Ticketor site or the page you are on. It takes just a couple minutes and it is the fastest way to make yourself familiar with the site or that feature. It will save you lots of time down the road.

Create an event

Ticketor event creation form

Creating an event on Ticketor is quick and easy. Let’s quickly create an event.

Please note that although we use the term “event” in this video, the concept can equally apply to any activity that may require ticketing, admission, booking or reservation.

I can create the event from the quick links section, or from the “Control Panel”, “Events” button.

It pops up an “Event creation wizard” that I can use to create my events basics before going to the actual event editor that offers plenty of options and customizations.

Alternatively, I can close the pop up and use the event editor.

  • Set the event title.
  • Select the event type.

    The event can be “Online” or “In-person” . Online events can be “Live” or “On-demand”. You can use on-demand events to easily monetize your videos.

    In-person events can be “assigned seated” or “General admission” or a combination of both. “Assigned seated” events allow the buyers to pick their seat on an interactive seating chart. Ticketor offers a state-of-the-art seating chart designer tool that allows you to build any seating chart including, theater style, round-table dinner style, restaurant or cabaret style, night-club style or any combination of them quickly and easily at no charge.

  • Select or create a venue. Venue is the physical or virtual place where your event happens. For seated events, the venue also contains the seating chart.
  • Select the date and time of the event. If the event is recurring, you can set the date and time to the first recurrence and later-on set the schedule.
  • Optionally upload an image or flyer for the event
  • Set the tax or vat and social distancing setting
  • Set the prices and pricing structure.

    Ticketor price levels and variations, gives you full flexibility to create all kind of pricing. If the event is assigned seated, it also lets you set multiple prices per seat such as kids price vs adult price.

    You can add as many “price levels” and each “price level” can have as many “price variations”.

    Some example of price levels and variations are:

    • General Price
    • VIP
    • Kids
    • Seniors
    • Members
    • Time-based pricing such as
      • Early-bird
      • Last-minute
    • Group based pricing such as
      • Couples ticket
      • Family ticket
      • Group of 10 or more
      • 2-day ticket
      • Weekend pass
      • Multi-session or multi-day tickets

    Price levels and variations can have their own face price as well as the fee or the service charge that the buyer pays to you as you are the one who sets and collects the service charges and you can charge as high or as low as you like.

    They can also be “Password protected” and hidden from general public.

    Note that, you can change the pricing and the capacity at any time and the changes will be effective immediately.

  • Add a payment processor or my PayPal

    Payment processor is a financial service that allows you to charge credit and debit cards and deposits the money in your bank account. Most payment processors, except for PayPal, are behind the scene and the user doesn’t know about their name or brand.

    We support most common payment processors including Stripe, Square, PayPal, Braintree, Authorize.net, …. If you don’t have one, you can simply get a Stripe or PayPal account in a couple minutes and use it right-away.

    Click on Stripe or PayPal button, sign in to your account or fill out the sign up form to get a new account, and click on the button to add that to your account.

  • Finish the event creation wizard and it will take you to advanced event configuration.

    There are lots of settings and configurations that allows you to customize the event.

    Complete the event by adding the event description, fine-tune the settings, add your flyer and video.

    You can also:

    • Set the event’s sales start and end date and time
    • Specify what delivery methods are available for the event
    • Set your return or exchange/upgrade policy so buyers can upgrade their tickets or change the date without contacting you
    • Set the event categories, type and genre
    • Set the event availability, restrictions or make it available to certain group or protect it with individual passwords
    • Add questions for the buyer to answer
    • Add related events, merchandise, gift cards or donations to the pre-checkout page to up-sell and promote them
  • And finally test the event as an event buyer by going to the “purchase ticket” page and make sure everything works as expected.

Make the event online

Creating Online Events Classes Meetings Using Ticketor

Now that we have a Ticketor account and an event, lets make it an online event.

Edit the event, either by going to the Event Section of the Control Panel, or hover over the event on the homepage.

In the event edit window, Tick the online box.

At this point you have 2 options:

  1. You may want to have Ticketor take care of ticket validation and admission (recommended)

    In this case, you simply get the embed code from your streaming provider of your choice including YouTube, Vimeo, Facebook, Zoom, … and paste it in the box. Ticketor will create a specific page for the streaming. The page is only accessible to people with a valid ticket.

    For the venue, set the name to “Online”, or your streaming provider, or any name that best describes it. You can leave the venue address empty as Ticketor will show the address of the streaming page.

    The link to streaming page will show up on the event information page, buy tickets page, tickets and sales confirmation page and sales confirmation email.

    After saving the event, you can also go the streaming page from the “Actions” menu to make sure the page and your embed code looks correct before the event starts.

    Each ticket can access the link on one computer / device.

    You can choose to allow re-entry or not. If re-entry is allowed, the viewer can click on the “Leave” button to leave the streaming page and come back again on the same computer or a different one, otherwise if re-entry is not allowed the viewer can only use the same browser.

    Your event can be either:

    • Live

      For live events, set the event start date and the duration. The viewer can enter the streaming page from a few minutes before the start of the event till the end of the event

    • On-demand

      If the event is on-demand, the viewer can visit the streaming page anytime from the start of the event till the end of it. In this case the event duration can be very long such as several days or months.

      You can specify for how long after the first view, visitor can come back to the page and continue watching or start over.

  2. Also you have the option to not use Ticketor for the gate control.

    In this case set the venue name to your streaming provider and set the venue address to the streaming page link.

    If you don’t want to reveal the address before the purchase, you can instead leave the venue address empty and add the address to the “After purchase notes” of the event.

    Alternatively, you can choose not to reveal the link until a few hours before the event. In that case, you can send a newsletter to people who purchased the event a few hours before the event.

    You can use the admission list report to get the list of all buyers, with their email address and the unique barcode on their tickets.

    So if your streaming provider offers such feature, you can upload the list in your streaming provider and limit the viewers to those emails, or use the unique code on ticket as the entrance code.

Your Event IS LIVE and ready to sell!

Recurring event with time-slots on Ticketor

Your event is all set, live and ready to sell.

Before promoting the event, from the “Actions” menu, go to the “Buy tickets page” and experience the site as a buyer. The link will take you to a page with the event information, address, description, flyer and a calendar.

Add tickets to your cart.

You can add tickets to as many events or dates. You can even add merchandise, gift cards, donation, or services to your cart and check them out all in one transaction.

When you are comfortable that the event is ready, go to promote tab of the event creation page, get the link to your home page (where all your events are listed) or the direct link to the event and share it on social media, newsletter or other ads. Add the link to your website or embed the ticketing into your website or WordPress.

POS (Point of sales) - Sell tickets in-person or over the phone

POS (Point of sales) - Sell tickets in-person or over the phone

Make yourself familiar with the POS page that is available from “Control Panel > Box Office > POS”

The Point Of Sale, is a touch-friendly, very fast, single page application that allows you and your sales staff to sell tickets or reservations face-to-face or over the phone, in as many ticket booths or retail locations.

You can accept credit card, cash, check or you can send invoices. You can apply promotion code, season tickets or gift cards. Based on your permission level, you can add additional fees or give ad-hoc or direct discount. This feature allows you to easily give away complimentary or discounted tickets.

You can use the POS on any tablet, computer or mobile device.

In terms of equipment for your retail location, Ticketor POS is very flexible. You can use no equipment at all, or use regular office printers or professional thermal ticket or receipt printers and credit card readers.

The POS allows you to sell anonymously or you can look up or create registered users. If an email address is provided during the sale, the buyer receives the tickets on their phone which eliminates the need for a printer and paper tickets.

Gate Control & Admission - Barcode Scanning

Gate Control & Admission - Barcode Scanning

You can use your phone or any device with a browser and camera to scan the tickets. Make yourself familiar with the gate control app. You can use the Android or IOS app or you can use the browser app that is available from the Control Panel. You can admit buyers by scanning the barcode or the QR-code on their ticket or look them up by name, email, phone number or confirmation number.

Gate control also supports ‘Exit and Re-entry’ so you don’t need to stamp attendees.

What to do next and optional enhancements

Events on Ticketor

There are many things you can do to enhance and optimize your Ticketor portal. Here are a few:

  • Design your site: Change the colors, upload your logo, email header and background pictures.
  • Add merchandise or gift cards to your store
  • Make yourself familiar with the Point Of Sales (POS) page so you can sell tickets face-to-face or over the phone, in as many ticket booths or retail locations.
  • Add a donation page and add donation to your checkout flow
  • Review all Ticketor features from www.Ticketor.com to learn what else are available and can potentially be useful to you.
  • Also check out the Help and Instructions page, scan the topics to know what are available and get ideas
  • Move the site to your domain or sub-domain so the address of the site will change from Ticketor.com/[Your business name] to www.YourDomain.com or tickets.YourDomain.com
  • If you have another website and want to integrate Ticketor with that, design your Ticketor site have the same feel and look as your other site. Match the items in the top navigation menu on both website so visitors can easily navigate between the two sites. Link to your Ticketor site or pages from your main site or embed the ticketing page, or any other page into the other site. If you have a WordPress site, use our WordPress plugin for integration.
  • Use the website builder features and add different type of pages such as:
    • Online store
    • Donation page
    • Gallery page (photos and videos)
    • Blog or news page
    • Reviews page
  • Also edit the text / graphic on your pages and add a beautiful slideshow banner
  • Make yourself familiar with the Gate Control app that allows you to scan tickets using any device with a camera and browser and admit buyers by scanning the barcode or QR-code on their tickets, or by looking them up by name, email, phone number or confirmation number. Gate control also supports ‘Exit and Re-entry’ so you don’t need to stamp attendees.
  • Introduce yourself to your dedicated support engineer. Ask as many questions. Ask them to review your site, evet or process. Schedule a Zoom meeting with them.